RSS is very convenient, but some people don't know how to use it (?)
In order to provide more diverse subscription methods (?)
Complaints#
I've searched a lot of tutorials online, including mailChimp, mailsender, and power automate, but none of them worked for various reasons... But I finally found a solution.
Idea#
- Use Rss as a trigger in Zapier to send emails to Tinyletter.
- Tinyletter distributes emails to visitors who have filled out the form.
The idea comes from Newsletter for Hugo Blog, and I have added some details and translated it into Chinese.
Tinyletter#
-> Tinyletter Official Website
The registration process is not described here.
- Enter your profile.

- Fill out the form, don't worry about the Newsletter for now, just fill in some random information, and remember to save it. If there is a redirection, it means that there are required fields that have not been filled in (I didn't know why I didn't see the prompt at that time, it took me a long time...
Copy the part that is blurred here, it will be used in the next step
The URL framed in red is used for visitors to fill in their email addresses. Remember to add it to your blog and it will be beautified in the next step

- Personalize the form interface (views refer to the interface for different situations, such as error reporting, email format errors, etc.)

The Tinyletter part is completed.
Note that every time a blog post is updated, you will see the email sent by Zapier in the Draft column, and you need to manually send it to subscribers (but it's just one click)
Zapier#
The registration process is not described here.
- Enter the dashboard and create a new zap.


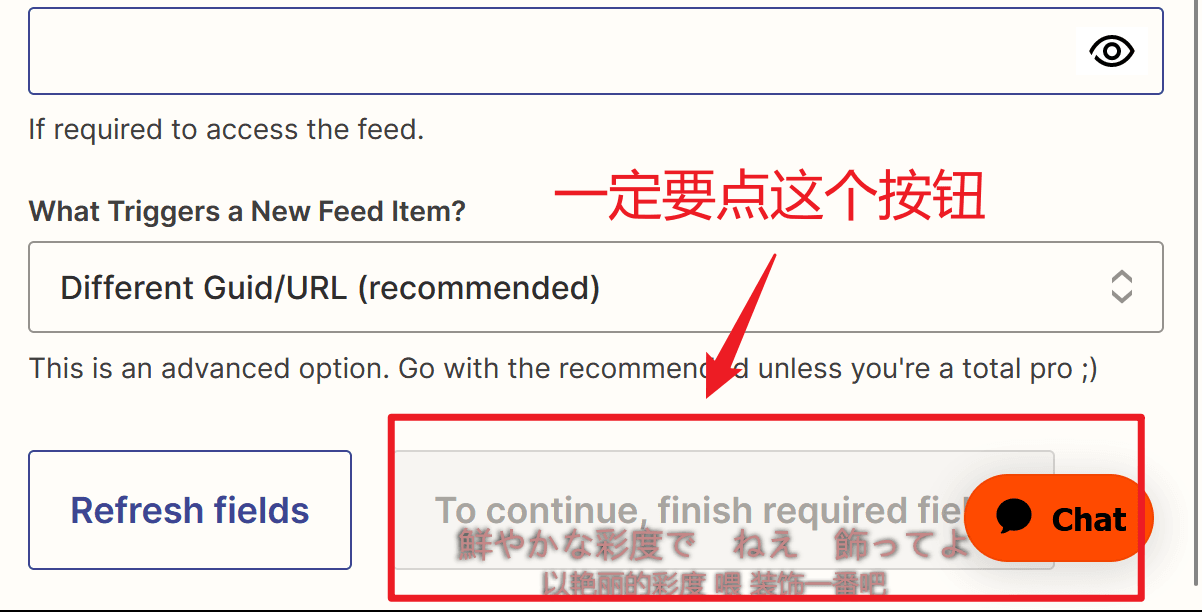
- Set the trigger, follow the steps in the red box in the figure below.

That is, when RSS is updated, trigger sending an email


- Set the action, follow the steps in the red box in the figure below.


Fill in 1, 2, and 3 in the figure below:
To: The email address of Tinyletter obtained just now.
Subject: Fill in your preferred name.
Body: Fill in the content of the email. You can refer to the HTML code I attached at the end.


Finally, you can see this effect in the dashboard

Attached HTML code:
<!DOCTYPE html>
<div class="main">
	<div class="circle-cover" style="text-align: center;"><div class="circle"></div></div>
	<img class="main-img" src="https://cdn.luogu.com.cn/upload/image_hosting/0xd4prt2.png">
	<h1>This site has been updated</h1>
	<P>Sent time</P>
	<span id="time"></span>/*Change the title and link here to your own (inserted data)*/
	<div class="post"><p class="title">Title<br>{{205114825__title}}</p></div>
	<a href="{{205114825__link}}"><div class="link">Jump</div></a>
	<img class="footer" src="https://raw.gitmirror.com/genkaim/blog_img/main/data/line_s.png">
</div>
<style>
	.post {
		margin-top: 25px;
		margin-left: 25px;
		width: 300px;
		height: 100px;
		background: #d5d5d5;
		border-radius: 8px;
	}
	.post p {
		margin-top: 25px !important;
		display: flex;
		align-items: center;
		justify-content: center;
		height: 100%;
	}
	.title {
		font-weight: bold;
	}
	a {
		text-decoration: none; /* Remove underline */
		color: white;

	}
	#time {
		background: linear-gradient(to right, #365262 0%, #1c6a54 50%, #254050 100%);
		background-clip: text;
		-webkit-background-clip: text;
		-webkit-text-fill-color: transparent;
	}
	#time {
        display: block;
        margin: 0 auto;
        font-weight: bold;
		text-align: center;
      }
	h1 {/*You can change it to your favorite gradient color*/
		background: linear-gradient(to right, #365262 0%, #1c6a54 50%, #254050 100%);
		background-clip: text;
		-webkit-background-clip: text;
		-webkit-text-fill-color: transparent;
		text-align: center;
		margin-top: 20px;
	}
	p {/*You can change it to your favorite gradient color*/
		background: linear-gradient(to right, #365262 0%, #1c6a54 50%, #254050 100%);
		background-clip: text;
		-webkit-background-clip: text;
		-webkit-text-fill-color: transparent;
		text-align: center;
	}
	.main-img {
		width:100%;
		overflow:hidden;
		pointer-events:none;
		margin-top: -120px;
		border-radius: 8px;
		width: 300px;
		display: block;
		margin: auto;
		margin-top: 40px;
	}
	.main {
		padding:40px 0px 20px;
		margin:0px;
		background-color: #f1e6e6;
		width: 350px;
		height: 700px;
		border-radius: 8px;
	}
	.footer {
		width: 350px;
		margin-left: 10px;
	}
	.p {
		display: flex;
		top: 10px;
		align-items: center;
		justify-content: center;
		height: 100%;
		font-size: 10px !important;
	}

	.link {
		font-size: 15px;
		background: #b3b3b3;
		border-radius: 8px;
		margin: 40px auto; /* Set left and right margins to auto */
		padding: 5px;
		color: white;
		width: 150px;
		height: 50px;
		display: block; /* Set element as a block-level element */
		text-align: center;
		font-weight: bold;
		line-height: 50px;
	}

	.circle {
        width: 30px;
        height: 30px;
        border-radius: 50%;
        background-color: rgb(255, 255, 255);
        margin: auto;
		box-shadow: inset 0 0 10px rgb(22, 22, 22);
		background-image: url(https://cdn.luogu.com.cn/upload/image_hosting/py13qt58.png);
		background-size: 95% 100%;
	}
</style>
<script>
fetch('http://quan.suning.com/getSysTime.do')
  .then(response => response.json())
  .then(data => {
    // Get the time
    var timeString = data.sysTime2;
    // Display the time on the page
    document.getElementById('time').textContent = timeString;
  });

</script>
</html>
