Background#
I came across endercat's article here and got the idea to add a chatbot to my blog. However, I wanted it to be in the form of a floating window, so I searched everywhere and finally!!! I found it.
Actually, I'm just not skilled enough to add a floating window.
😆Creating a New Bot#
This time, we will be using the Chat Thing website, which supports gpt-3 for the free version.
- Register and log in after entering the website, and you will see the dashboard.
- Create a bot, but note that the free version only allows you to create one bot.
- Set up the basic information for the bot, and pay attention to the place to put the API key in the Advanced settings at the bottom.

🫤Setting Data Source#
Note that the free version only allows one data source, but usually that's enough.

There are many different ways to do this, and here are two methods:
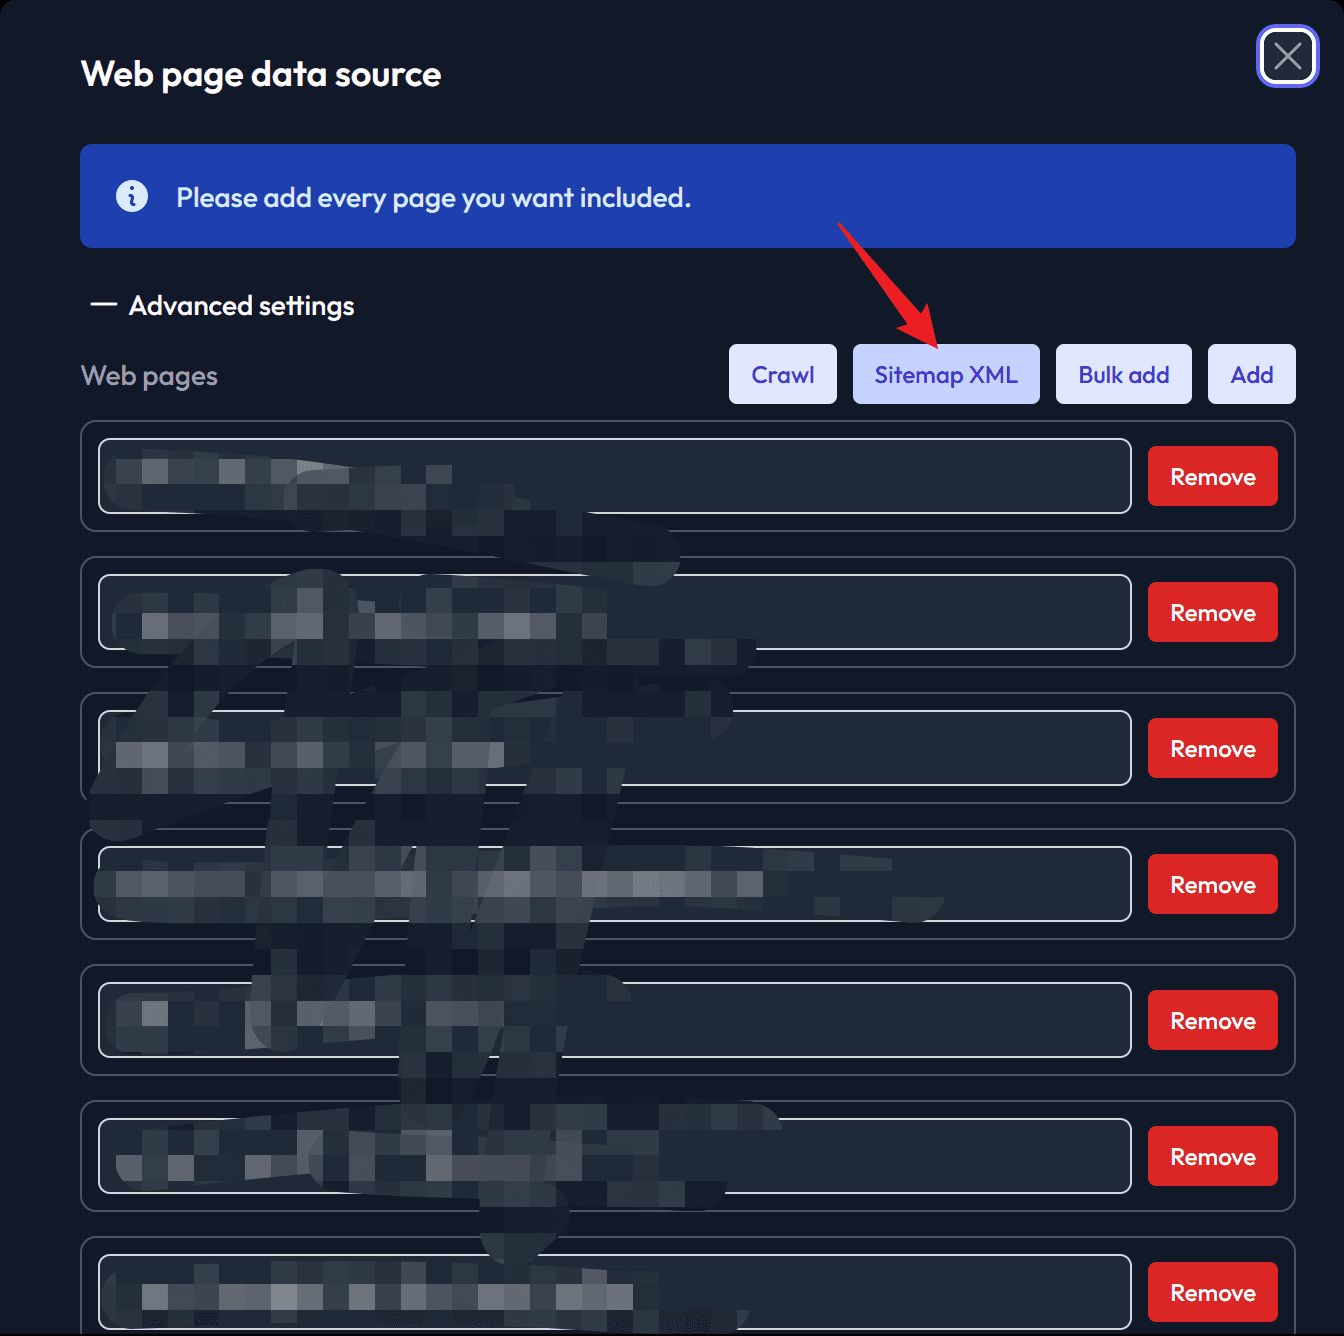
- Website: (Because sitemaps can be used) Enter the website URL as shown in the image.

-
RSS Subscription: Click on the RSS button on your xlog homepage, copy the URL of the newly opened webpage, and paste it in the corresponding location in the image below.


Remember to save and synchronize the data source.

Now, the data source is set up.
🥰Embedding the Bot into the Blog#
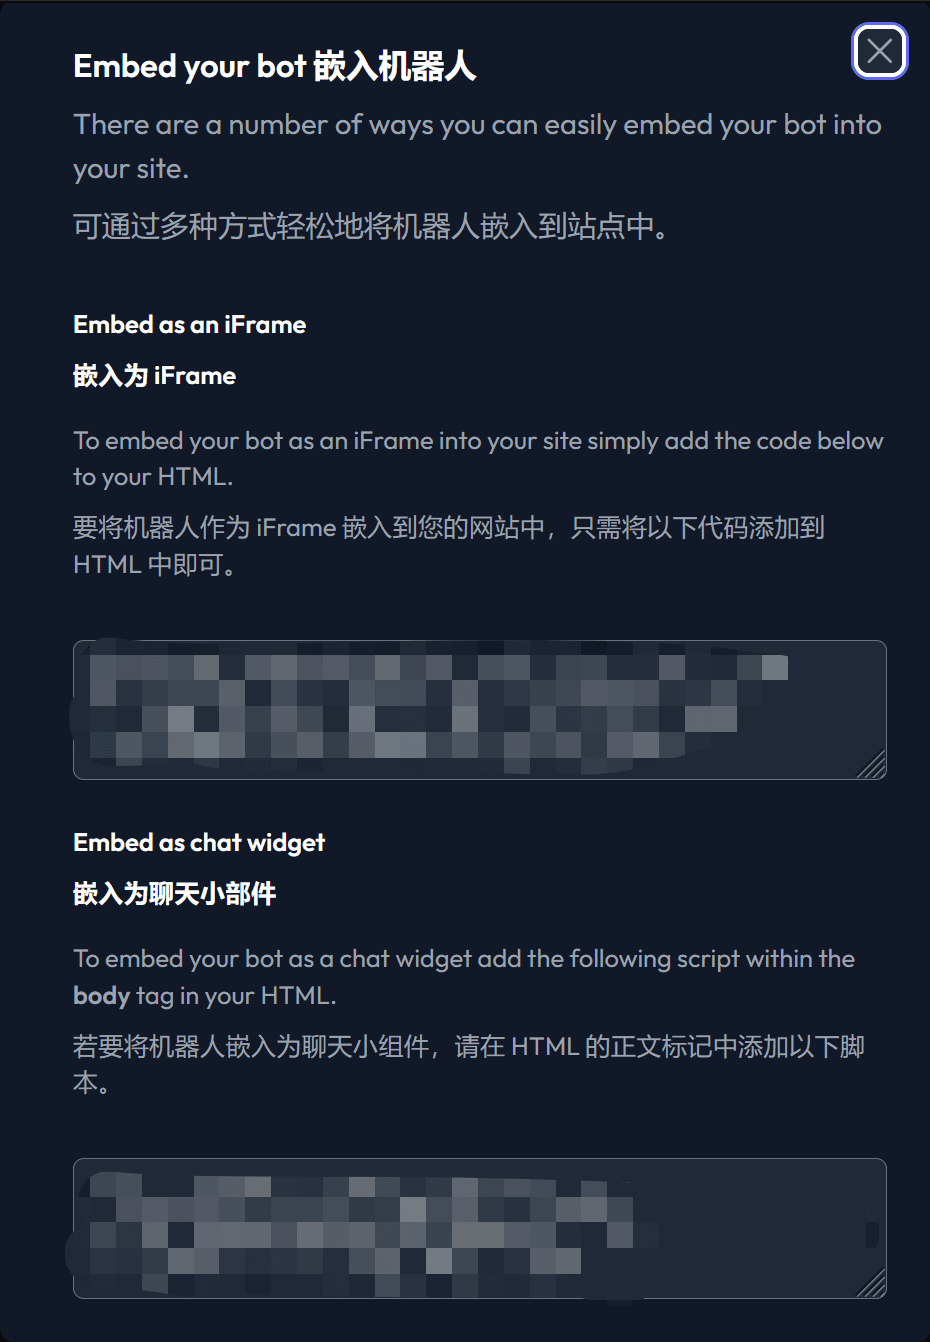
Click on Embed Bot and refer to the translation in the image below. Choose the desired method of insertion.

If you want to insert it into an article/page, it's very simple. Just insert the code you see into the corresponding .md file.
If you want a global widget, simply include it at the bottom:
<script src="https://chatthing.ai/chat-widget.js" type="text/javascript" id="<replace with the id you see in the widget code (keep the quotation marks)>" async defer></script>
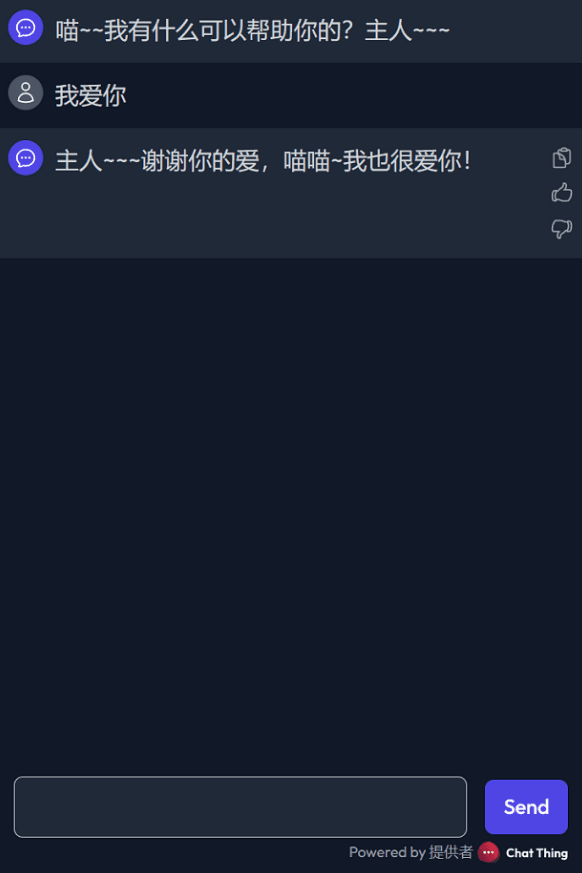
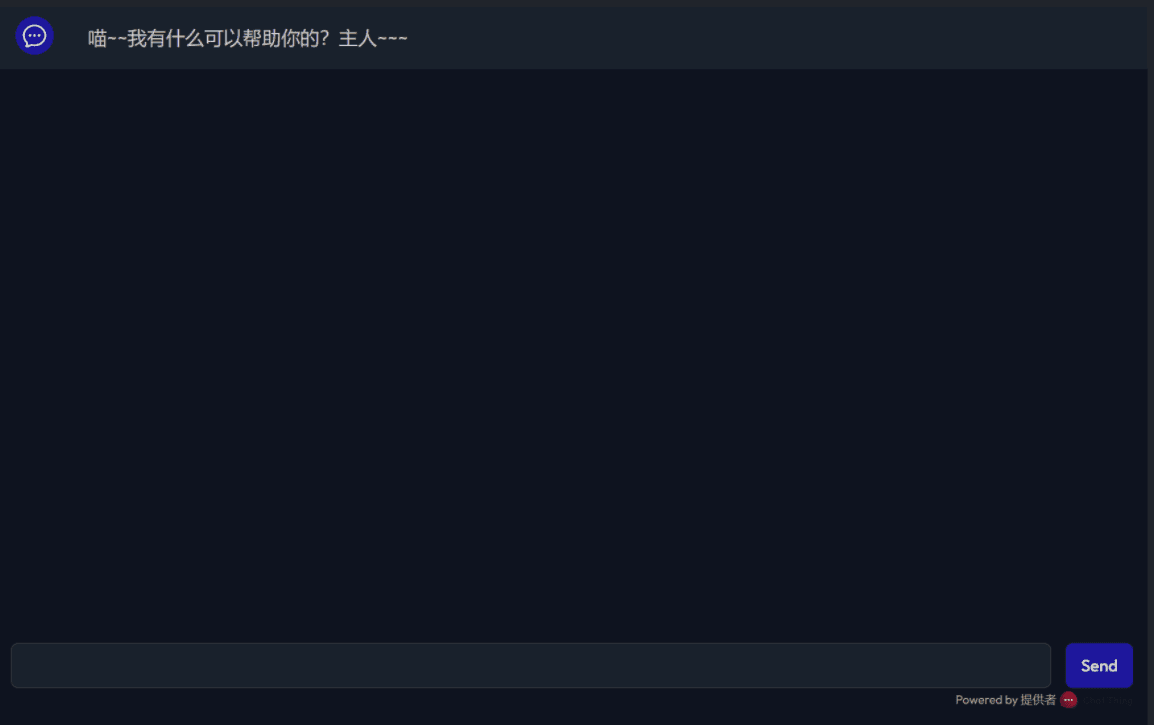
The effects are shown in the images below.


And that's it! 🥳
If there are any errors or improvements, please let me know. 🥲
