rss 很方便,但有人不会用(?
为了提供更多元的订阅方式 (?
吐槽#
我查了很多网上的教程,包括 mailChimp,mailsender 还有 power automate 等等,但都不行,有各种各样的原因。。。不过最后还是找到了
思路#
- 在 Zapier 使用 Rss 作为触发器,给 Tinyletter 发送邮件。
- Tinyletter 分发邮件给填写过表单的访客。
思路来自于 Newsletter for Hugo Blog 在此基础上增加了一些细节并翻译成中文。
Tinyletter#
注册过程不再赘述。
- 进入个人档案

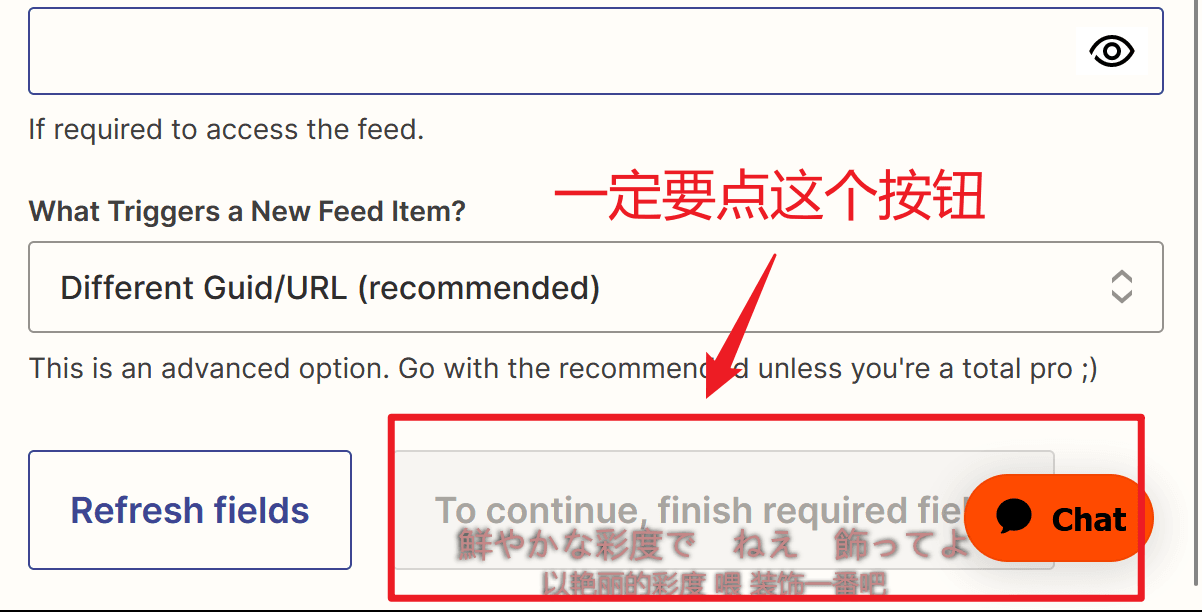
- 填写表单,Newsletter 暂时不用管,随便填一些,填完记得保存。 如果出现跳转,那是有必填项目没填 (它这提示我当时不知道为什么就是没看到,卡了好久。。。
把这里打马赛克的地方复制下来,下一阶段要用
红色框出的网址是访客填邮箱用的,记得添加到博客,下一步会对其美化

- 个性化表单界面 (views 指不同情况下,报错、邮件格式错误.... 的界面)

Tinyletter 部分完成了。
注意,每次博客文章更新,你会在 Draft 一栏看到 Zapier 发送的邮件,你需要手动发送给订阅者(不过是一键的)
Zapier#
-> zapier 官网
注册过程不再赘述。
- 进入仪表盘,新建 zap


- 设置触发器,按下图的红框依次操作

即当 RSS 更新时触发发送电子邮件


- 设置动作,按下图红框依次操作


下图的 1、2、3 依次填入:
To : 刚才获取的 tinyletter 的邮件地址
Subject : 填你喜欢的名字
Body : 填入发件内容,可以参考我附在末尾的 html 代码


最后在仪表盘看到这种效果就行了

附 html 代码:
<!DOCTYPE html>
<div class="main">
	<div class="circle-cover" style="text-align: center;"><div class="circle"></div></div>
	<img class="main-img" src="https://cdn.luogu.com.cn/upload/image_hosting/0xd4prt2.png">
	<h1>本站更新了</h1>
	<P>发送时间</P>
	<span id="time"></span>/*这里的标题和链接都要改成自己的(插入的数据)*/
	<div class="post"><p class="title">标题<br>{{205114825__title}}</p></div>
	<a href="{{205114825__link}}"><div class="link">跳转</div></a>
	<img class="footer" src="https://raw.gitmirror.com/genkaim/blog_img/main/data/line_s.png">
</div>
<style>
	.post {
		margin-top: 25px;
		margin-left: 25px;
		width: 300px;
		height: 100px;
		background: #d5d5d5;
		border-radius: 8px;
	}
	.post p {
		margin-top: 25px !important;
		display: flex;
		align-items: center;
		justify-content: center;
		height: 100%;
	}
	.title {
		font-weight: bold;
	}
	a {
		text-decoration: none; /* 去掉下划线 */
		color: white;

	}
	#time {
		background: linear-gradient(to right, #365262 0%, #1c6a54 50%, #254050 100%);
		background-clip: text;
		-webkit-background-clip: text;
		-webkit-text-fill-color: transparent;
	}
	#time {
        display: block;
        margin: 0 auto;
        font-weight: bold;
		text-align: center;
      }
	h1 {/*这里可以改成自己喜欢的渐变色*/
		background: linear-gradient(to right, #365262 0%, #1c6a54 50%, #254050 100%);
		background-clip: text;
		-webkit-background-clip: text;
		-webkit-text-fill-color: transparent;
		text-align: center;
		margin-top: 20px;
	}
	p {/*这里可以改成自己喜欢的渐变色*/
		background: linear-gradient(to right, #365262 0%, #1c6a54 50%, #254050 100%);
		background-clip: text;
		-webkit-background-clip: text;
		-webkit-text-fill-color: transparent;
		text-align: center;
	}
	.main-img {
		width:100%;
		overflow:hidden;
		pointer-events:none;
		margin-top: -120px;
		border-radius: 8px;
		width: 300px;
		display: block;
		margin: auto;
		margin-top: 40px;
	}
	.main {
		padding:40px 0px 20px;
		margin:0px;
		background-color: #f1e6e6;
		width: 350px;
		height: 700px;
		border-radius: 8px;
	}
	.footer {
		width: 350px;
		margin-left: 10px;
	}
	.p {
		display: flex;
		top: 10px;
		align-items: center;
		justify-content: center;
		height: 100%;
		font-size: 10px !important;
	}

	.link {
		font-size: 15px;
		background: #b3b3b3;
		border-radius: 8px;
		margin: 40px auto; /* 设置左右外边距为 auto */
		padding: 5px;
		color: white;
		width: 150px;
		height: 50px;
		display: block; /* 设置元素为块级元素 */
		text-align: center;
		font-weight: bold;
		line-height: 50px;
	}

	.circle {
        width: 30px;
        height: 30px;
        border-radius: 50%;
        background-color: rgb(255, 255, 255);
        margin: auto;
		box-shadow: inset 0 0 10px rgb(22, 22, 22);
		background-image: url(https://cdn.luogu.com.cn/upload/image_hosting/py13qt58.png);
		background-size: 95% 100%;
	}
</style>
<script>
fetch('http://quan.suning.com/getSysTime.do')
  .then(response => response.json())
  .then(data => {
    // 获取时间
    var timeString = data.sysTime2;
    // 将时间显示在页面上
    document.getElementById('time').textContent = timeString;
  });

</script>
</html>
