RSS は便利ですが、使えない人もいます(?
より多様な購読方法を提供するために(?
吐槽#
多くのオンラインチュートリアルを調べましたが、mailChimp、mailsender、power automate などがありましたが、うまくいきませんでした。さまざまな理由がありました。。。しかし、最終的には見つけました。
思路#
- Zapier で RSS をトリガーとして使用し、Tinyletter にメールを送信します。
- Tinyletter は、フォームに記入した訪問者にメールを配信します。
このアイデアは Newsletter for Hugo Blog から得たもので、いくつかの詳細を追加し、中国語に翻訳しました。
Tinyletter#
登録プロセスについては省略します。
- プロフィールにアクセス

- フォームに記入します。Newsletter は一時的に無視して、適当に記入し、記入後は保存を忘れないでください。 必須項目が未記入の場合、リダイレクトが発生します (その時はなぜか分からず、しばらく詰まっていました。。。
ここでモザイク処理した部分をコピーして、次のステージで使用します
赤枠で囲まれた URL は訪問者がメールアドレスを記入するためのもので、ブログに追加することを忘れないでください。次のステップでそのデザインを整えます。

- フォームのインターフェースをカスタマイズします(views は異なる状況、エラー、メールフォーマットエラーなどのインターフェースを指します)

Tinyletter 部分は完了しました。
注意:ブログ記事が更新されるたびに、Draft セクションで Zapier が送信したメールを見ることができ、手動で購読者に送信する必要があります(ただし、ワンクリックで可能です)
Zapier#
-> zapier 公式サイト
登録プロセスについては省略します。
- ダッシュボードにアクセスし、新しい zap を作成します。


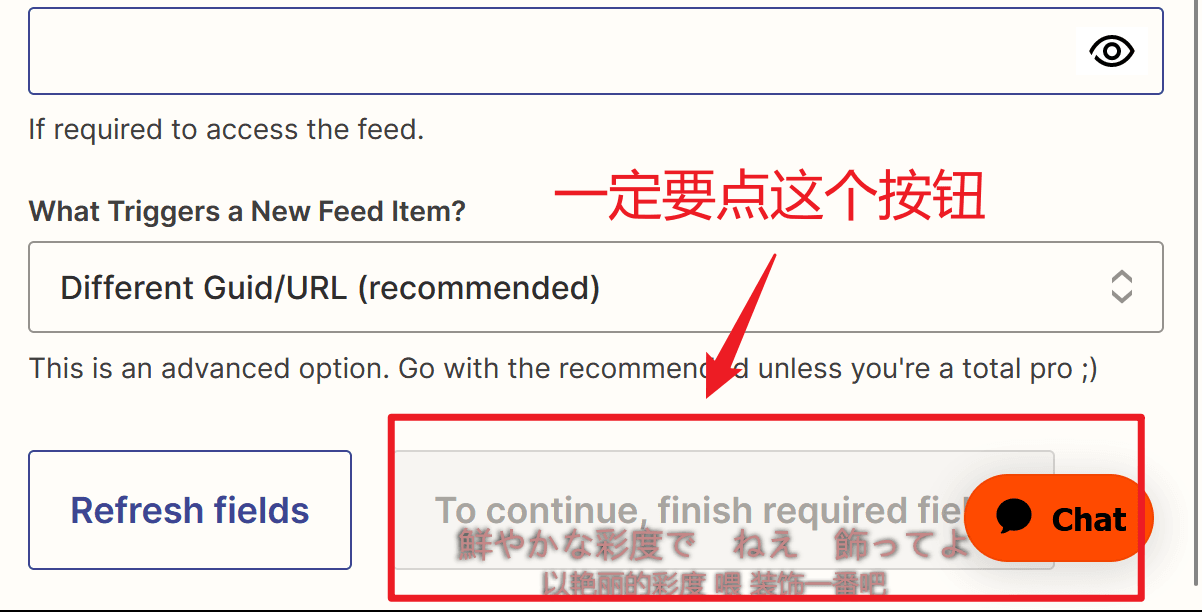
- トリガーを設定し、下の赤枠に従って操作します。

RSS が更新されたときに電子メールを送信するトリガーを設定します


- アクションを設定し、下の赤枠に従って操作します。


下の 1、2、3 に順番に記入します:
To : 先ほど取得した Tinyletter のメールアドレス
Subject : お好きな名前を記入してください
Body : 送信内容を記入します。私が末尾に添付した HTML コードを参考にできます。


最後にダッシュボードでこのような効果が見られれば大丈夫です。

添付の HTML コード:
<!DOCTYPE html>
<div class="main">
	<div class="circle-cover" style="text-align: center;"><div class="circle"></div></div>
	<img class="main-img" src="https://cdn.luogu.com.cn/upload/image_hosting/0xd4prt2.png">
	<h1>サイトが更新されました</h1>
	<P>送信時間</P>
	<span id="time"></span>/*ここでのタイトルとリンクは自分のものに変更してください(挿入されたデータ)*/
	<div class="post"><p class="title">タイトル<br>{{205114825__title}}</p></div>
	<a href="{{205114825__link}}"><div class="link">ジャンプ</div></a>
	<img class="footer" src="https://raw.gitmirror.com/genkaim/blog_img/main/data/line_s.png">
</div>
<style>
	.post {
		margin-top: 25px;
		margin-left: 25px;
		width: 300px;
		height: 100px;
		background: #d5d5d5;
		border-radius: 8px;
	}
	.post p {
		margin-top: 25px !important;
		display: flex;
		align-items: center;
		justify-content: center;
		height: 100%;
	}
	.title {
		font-weight: bold;
	}
	a {
		text-decoration: none; /* 下線を削除 */
		color: white;

	}
	#time {
		background: linear-gradient(to right, #365262 0%, #1c6a54 50%, #254050 100%);
		background-clip: text;
		-webkit-background-clip: text;
		-webkit-text-fill-color: transparent;
	}
	#time {
        display: block;
        margin: 0 auto;
        font-weight: bold;
		text-align: center;
      }
	h1 {/*ここは自分の好きなグラデーションカラーに変更できます*/
		background: linear-gradient(to right, #365262 0%, #1c6a54 50%, #254050 100%);
		background-clip: text;
		-webkit-background-clip: text;
		-webkit-text-fill-color: transparent;
		text-align: center;
		margin-top: 20px;
	}
	p {/*ここは自分の好きなグラデーションカラーに変更できます*/
		background: linear-gradient(to right, #365262 0%, #1c6a54 50%, #254050 100%);
		background-clip: text;
		-webkit-background-clip: text;
		-webkit-text-fill-color: transparent;
		text-align: center;
	}
	.main-img {
		width:100%;
		overflow:hidden;
		pointer-events:none;
		margin-top: -120px;
		border-radius: 8px;
		width: 300px;
		display: block;
		margin: auto;
		margin-top: 40px;
	}
	.main {
		padding:40px 0px 20px;
		margin:0px;
		background-color: #f1e6e6;
		width: 350px;
		height: 700px;
		border-radius: 8px;
	}
	.footer {
		width: 350px;
		margin-left: 10px;
	}
	.p {
		display: flex;
		top: 10px;
		align-items: center;
		justify-content: center;
		height: 100%;
		font-size: 10px !important;
	}

	.link {
		font-size: 15px;
		background: #b3b3b3;
		border-radius: 8px;
		margin: 40px auto; /* 左右の外側の余白を自動に設定 */
		padding: 5px;
		color: white;
		width: 150px;
		height: 50px;
		display: block; /* 要素をブロック要素に設定 */
		text-align: center;
		font-weight: bold;
		line-height: 50px;
	}

	.circle {
        width: 30px;
        height: 30px;
        border-radius: 50%;
        background-color: rgb(255, 255, 255);
        margin: auto;
		box-shadow: inset 0 0 10px rgb(22, 22, 22);
		background-image: url(https://cdn.luogu.com.cn/upload/image_hosting/py13qt58.png);
		background-size: 95% 100%;
	}
</style>
<script>
fetch('http://quan.suning.com/getSysTime.do')
  .then(response => response.json())
  .then(data => {
    // 時間を取得
    var timeString = data.sysTime2;
    // ページに時間を表示
    document.getElementById('time').textContent = timeString;
  });

</script>
</html>
